BEAUTIFUL BUNTING CAKE: MY SHOWSTOPPER


It's a bit time consuming, a bit calorie laden, a bit messy and leaves your kitchen looking like the bomb squad has had a go at it but golly it's worth it.
Here we go, now pay attention.....
Preheat oven to 170oC (fan assisted)
Ingredients
Sponge:
- 350g self raising flour,sifted
- 350g soft marg, I use Stork it's great to work with
- 350g caster sugar
- 6 large eggs
- 1 tablespoon vanilla extract
- A good dash of milk
- 6 different gel colours to colour your sponges
Decoration:
- 100g soft butter ( I don't use the Stork for this bit,I use the proper stuff)
- 300g soft cream cheese
- 600g sifted icing sugar
- Some drops of pink colouring
Method
You're going to be making 6 separate sponges for this baby so ideally you would need 6x 8" sandwich tins, however I don't know anyone who has 6 of these , (I have 4) ,so I grease and line 4 of them and then bake the cakes 2 at a time and then begrudgingly I wash up the first 2 tins and grease and reline them and cook with them again...genius! Prepare everything beforehand.
PREP EVERYTHING.
PREP EVERYTHING.
 1: In a mixer, cream together the Stork and sugar till pale.
2: Then I add an egg at a time followed by a spoon of flour and whisk,this prevents curdling (well that what Ms Berry says) Finish off by adding the last of the flour and the vanilla extract and using a metal spoon gently fold it all in. Regarding my egg situation, I always use free range because I happen to own 3 hefty chickens who lay big eggs constantly (see pic) and to be frank I have so many and my children are so sick of poached eggs for breakfast,boiled for lunch and scrambled for dinner that that they are beginning to wish for a gruesome chicken cull, for fear of morphing into human eggs. Tis nice to make a cake that needs loads of eggs so I can use the blighters up!

3: When mixed, I sometimes add a bit of milk at this stage if it looks like you could grout your kitchen tiles with it just to loosen up and make it go a little further.
4: Next I use just about every bowl I own (except the toilet bowl) to divide the mixture into 6 bowls of equal quantity, I don't weigh it seeing as my patience wouldn't cope with that amount of methodology. Just guess and make it near enough.
5: Then you need to add your colours to make them well, colourful I use the Dr Oetker range because that's what I had and my local Lidl didn't seem to stock the posh ones so I used these. They're ok, but I do believe you can achieve brighter results with different brands if you can get them but these will suffice. Quantity wise I just kept adding a bit at a time and stirring until I started believing I was hallucinating on a bad trip.You could try a rainbow theme I.e Richard Of York Gave Battle In Vain and all that but if your colours end up a bit murky and dubious then the order might result more in a Richard Of Golders Green Plucked Leeches Valiantly or something...either way it's all still colourful and I'm sure Richard doesn't mind what he's plucking.....


6: Spoon your cake mix equally into your prepared tins and cook your cakes two at a time for around 20 minutes each or until springy. Don't panic if they don't look risen as they tend not to rise too much and remember you are stacking these so you don't want it taller than The Shard or you'll resemble a dribbling sloth when attempting to shove it in your mouth.
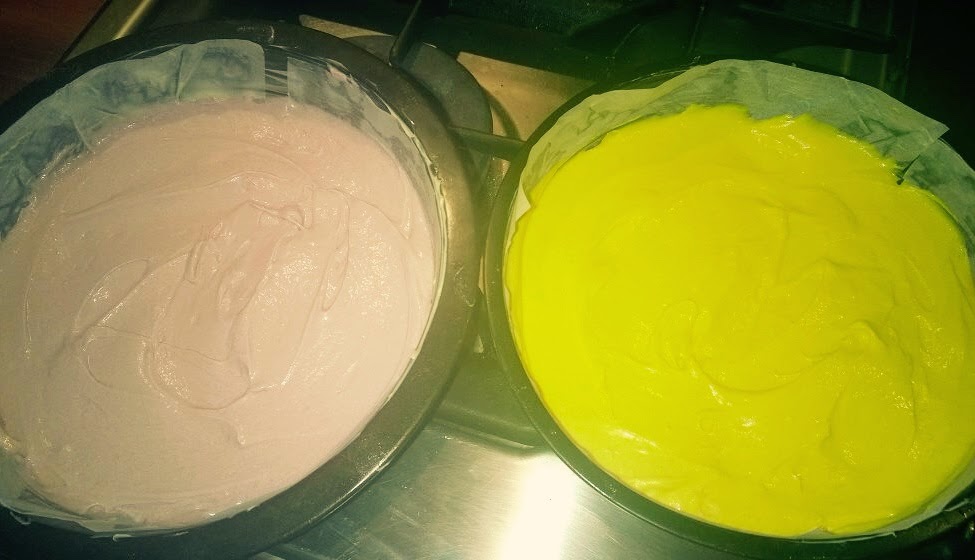


7: When your cakes are removed from the oven do not panic Mr Mainwaring if they look a bit pale and not as vivid (see pic) just have faith, when the sponges are assembled together the colours will become more apparent. Let them cool on a rack.

8: I now wrap mine in foil and chill for a while in the fridge as this makes them easier to ice and less fragile and also gives me time to have tea and hob nobs after all my diligent cooking.
9: Did I mention the mess, well yes it's messy however they've invented a fabulous contraption that washes up all the dirty stuff for you...use it!!!

10: Once you have finished the tea and half the packet of Hob Nobs you need to make the icing. Whisk up your soft butter in a bowl till smooth then add your cream cheese and whisk again.

11: Gradually add your sifted icing sugar and possibly a dash of lemon juice if you have it,this tames the sweetness. I like to add a few drops of pink colouring at this stage, purely because I like pink but if you don't you can add any colour or just leave it white,stir well with a wooden spoon, I know it hurts but who doesn't want biceps like Fatima Whitbread?

12: You can now chill the icing because it becomes easier to deal with when cooler.
13: Finally time to ice the masterpiece. Firstly glue the bottom base of the sponge with some icing onto your cake stand,this stops the blighter from running around the bottom. Next,carefully spread a thin layer of icing in between each sponge and stack em high baby! (Take the icing to the very edge,this way you will get good definition)

14: When all the sponges are assembled then continue with the icing to cover the entire cake using a palette knife. Don't just splodge it on, take a bit of time and care at this stage, it's worth it. Basically your cake is now finished but you can embellish it further if you like with coloured sprinkles or a few extra little swirly icing designs around the base. Either way it looks great because the inside is more the the showpiece.

15: I love pretty bunting so I simply made my own bunting with 2 Cake pop sticks, some ribbon,glue and paper triangles. Incredibly simple and straightforward yet very effective and pretty. (See pic) So there you have my pretty Bunting Cake.

Good luck peeps and happy cooking.
No comments:
Post a Comment